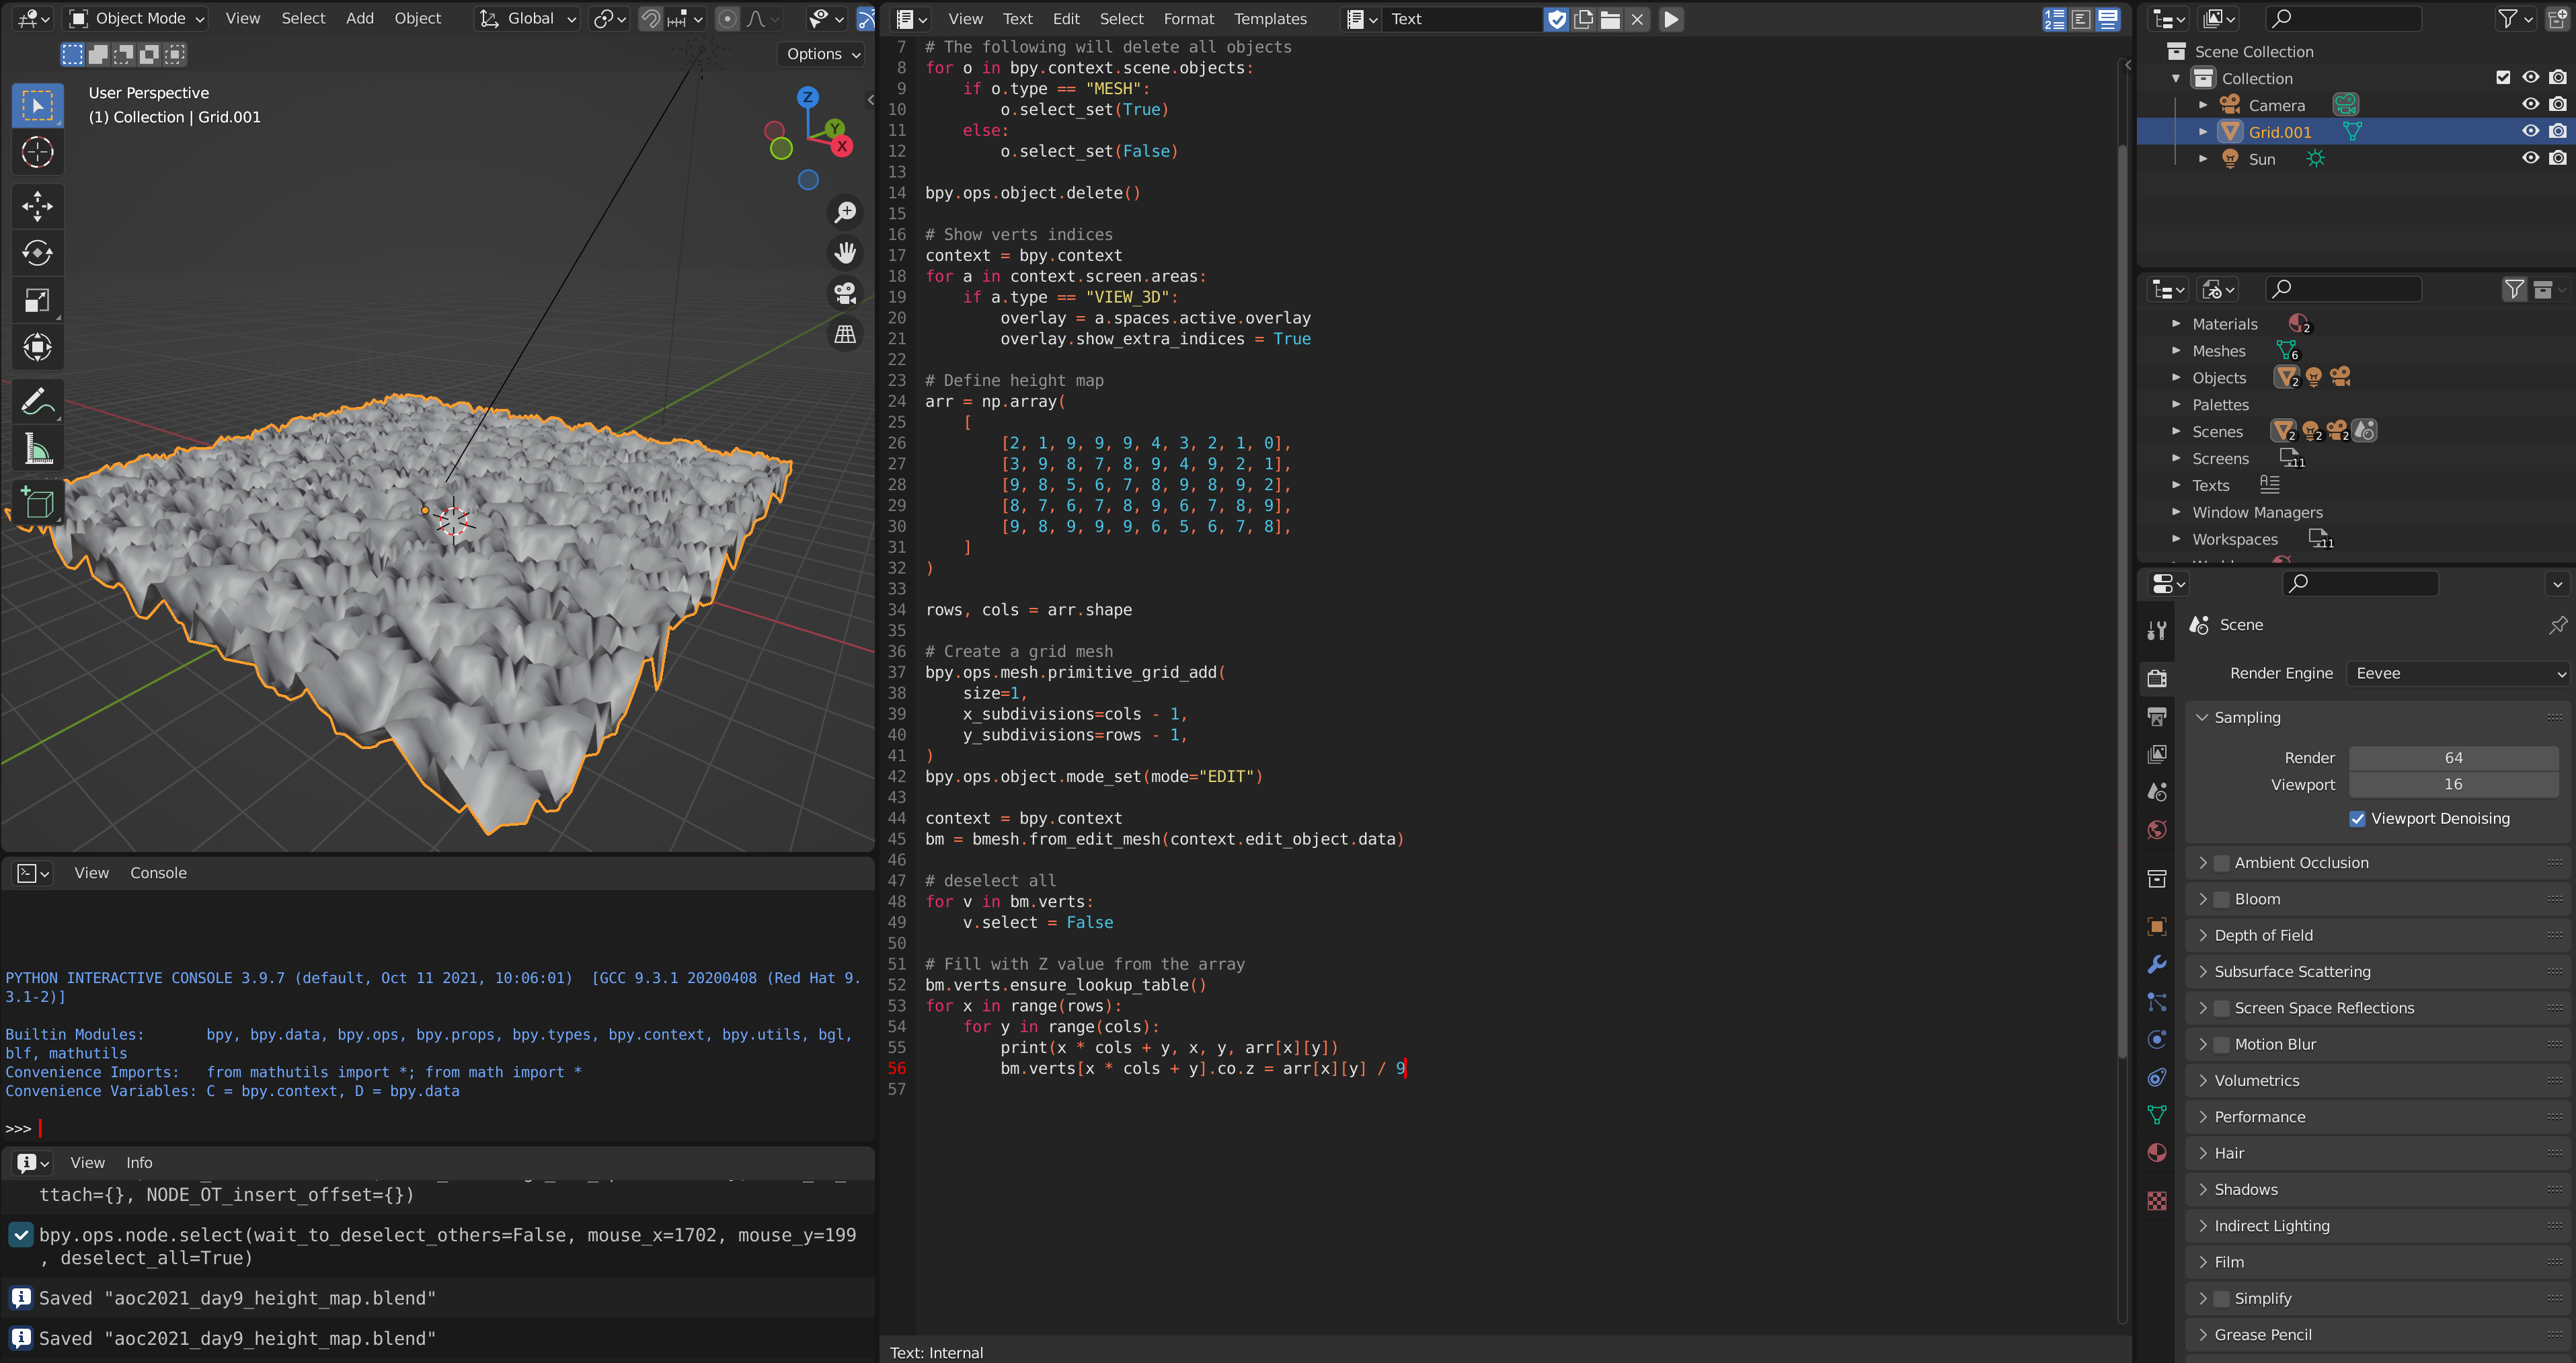
Imagine we have a 2D array of values from which we want to create a 3D height map mesh. I was playing with Blender 3.0 recently, which also supports python scripting and even numpy library. I was determined to create a 3D model of the boring 2D array.
1. Start Blender
When running Linux, we should start blender through terminal to get the python execution errors. The below script will delete all objects, therefore it is better to start with an empty project.
2. Create a mesh
Assuming we have a 2D array, we can create a script through Scripting tab. Copy-paste the below script and click Run.
 1import bpy
 2import bmesh
 3import numpy as np
 4
 5bpy.ops.object.mode_set(mode="OBJECT")
 6
 7# The following will delete all objects
 8for o in bpy.context.scene.objects:
 9    if o.type == "MESH":
10        o.select_set(True)
11    else:
12        o.select_set(False)
13
14bpy.ops.object.delete()
15
16# Show verts indices
17context = bpy.context
18for a in context.screen.areas:
19    if a.type == "VIEW_3D":
20        overlay = a.spaces.active.overlay
21        overlay.show_extra_indices = True
22
23# Define height map
24arr = np.array(
25    [
26        [2, 1, 9, 9, 9, 4, 3, 2, 1, 0],
27        [3, 9, 8, 7, 8, 9, 4, 9, 2, 1],
28        [9, 8, 5, 6, 7, 8, 9, 8, 9, 2],
29        [8, 7, 6, 7, 8, 9, 6, 7, 8, 9],
30        [9, 8, 9, 9, 9, 6, 5, 6, 7, 8],
31    ]
32)
33
34rows, cols = arr.shape
35
36# Create a grid mesh
37bpy.ops.mesh.primitive_grid_add(
38    size=1,
39    x_subdivisions=cols - 1,
40    y_subdivisions=rows - 1,
41)
42bpy.ops.object.mode_set(mode="EDIT")
43
44context = bpy.context
45bm = bmesh.from_edit_mesh(context.edit_object.data)
46
47# deselect all
48for v in bm.verts:
49    v.select = False
50
51# Fill with Z value from the array
52bm.verts.ensure_lookup_table()
53for x in range(rows):
54    for y in range(cols):
55        print(x * cols + y, x, y, arr[x][y])
56        bm.verts[x * cols + y].co.z = arr[x][y] / 9
The script will first remove all objects (to allow for re-running) and then create a Collection named Grid. This collection contains a mesh, where the Z value is taken from the supplied array. I am using a larger 2D array in the images.

3. Scale the mesh
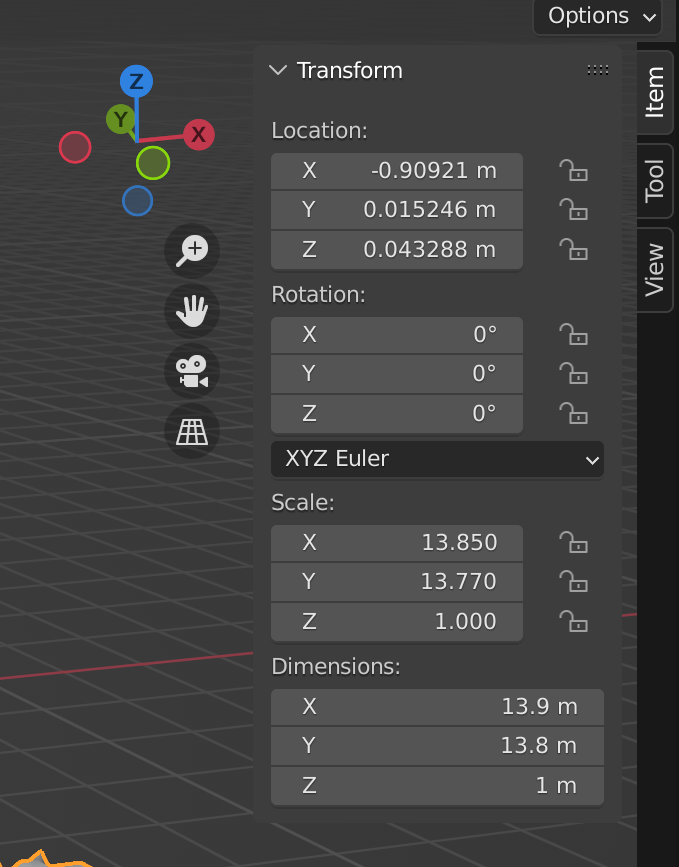
The initial result was too clumped up for my taste. We can scale down the mesh in the Layout tab:

Additionally we can smooth the surface by selecting the vertices, right-clicking on it and then click Shade Smooth. The resulting mesh will be less jagged with a fewer amount of sudden gaps.
4. Apply shading
We can apply shading - meaning we can select a different color based on the Z coordinate. Select Shading tab and create the following Material:

Note that if we run the script again, the object will be deleted! We can click on a Fake User button, which saves the material even if it has no object. Then the material can be reapplied every time we run the script.
5. Customize
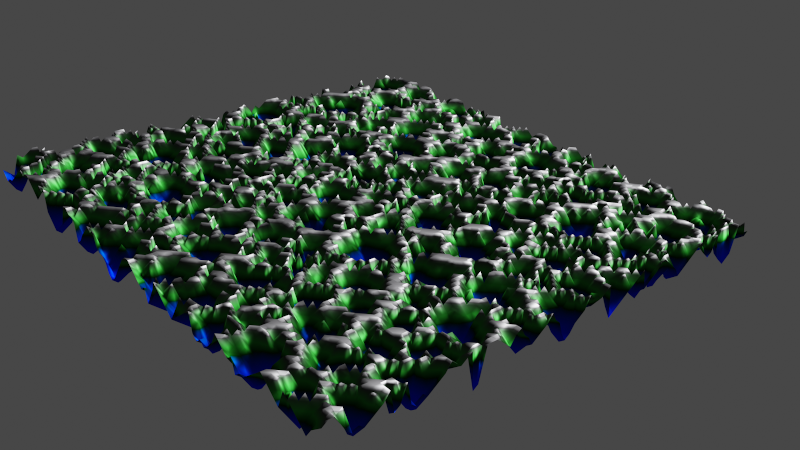
We can move the light, change angles, modify parameters … Finally we can render the result with the F12 shortcut until we are happy with the result. Below I created a terrain with blue lakes, green hills and white snow tops.

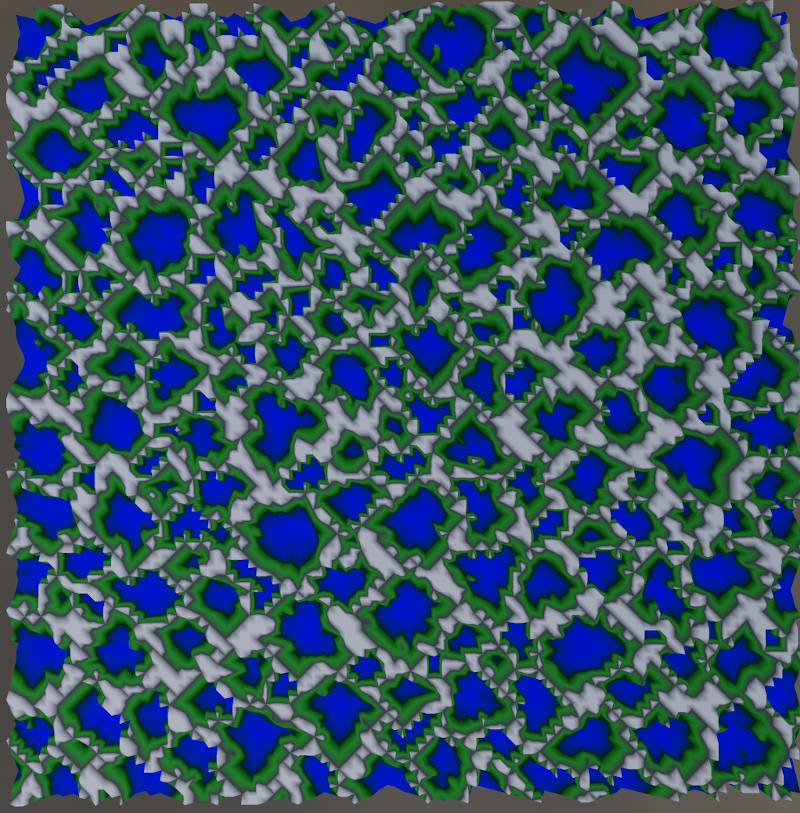
We can also render the map from above, obtaining a 2D height map.

Conclusion
We created a simple 3D height map mesh from a 2D value array. Then we modified it to look like a terrain. Most of the work was figuring out the indices and other Blender specifics in the script to make it work. With this we could quite easily create a map for a game.
Comments